Ultralight Travel Tips: Part 1
From May 15 until September 20 of the past year I took a little trip all the way around the world.
In the end, I got to explore fifty-three cities and regions across thirty-two countries on three continents.
With the exception of a few weeks in Eastern Europe with my fellow Die Living homie, Jariko Denman, and beaching bumming around Bali for a week with my best friend, I did the trip solo.
With a 40L backpack, my passport, enough money (barely) for the trip, I headed out, starting in Lisbon, Portugal and eventually flying back to the United States from Tokyo.
Over the next few months, I will be explaining how I did the trip, reviewing many of the places I stopped and generally sharing tips, tricks, and anecdotes from around the world.
Today we’re going to start with the first part of the basics of ultralight travel.
Ultralight Packing 101
The amount of bullshit that the average person travels with is insane. For the rest of my life, if I think I’m getting serious with a woman, I’m making her plan a two-week adventure trek with me. If she can’t get her gear into a forty-liter backpack plus a ten-liter personal bag, it’s over.
Call me an asshole (fair), but it’s the truth.
It might sound counterintuitive to some of you, but the less you have the freer you really are as you travel, not to mention how much easier it is to get from point A to point B.
Being this light also means you don’t have to check a bag, which saves you serious money over time.

Budget airlines go by weight. Ten kilograms used to be the ultralight gold standard, as it is the max allowable for a Ryanair flight throughout Europe. Their limits go beyond strict, as that airline will weigh your bag every time.
As a world standard, getting your pack weight down to seven kilograms is ideal. For flights in Asia on Air Asia, Air India, and VietJet (and especially if they are domestic to the country you are in and not international), the standard is seven kilos. And like Ryanair, those airlines are all really strict about weight enforcement.
How do you get your pack down to just seven kilograms?
Take only what you need.
- 2-3 pairs of pants (depending on the time of year)
- 2-3 pairs of shorts (depending on the time of year)
- 2-3 Long sleeve or button-down style shirts or blouses
- 3-5 t-shirts, pairs of socks, underwear/sports bras (guys, I recommend swapping out undies for Ranger Panties for more flexibility)
- Toiletries and a travel towel (if you don’t mind a small hostel feel, ditch the towel)
- Rain jacket
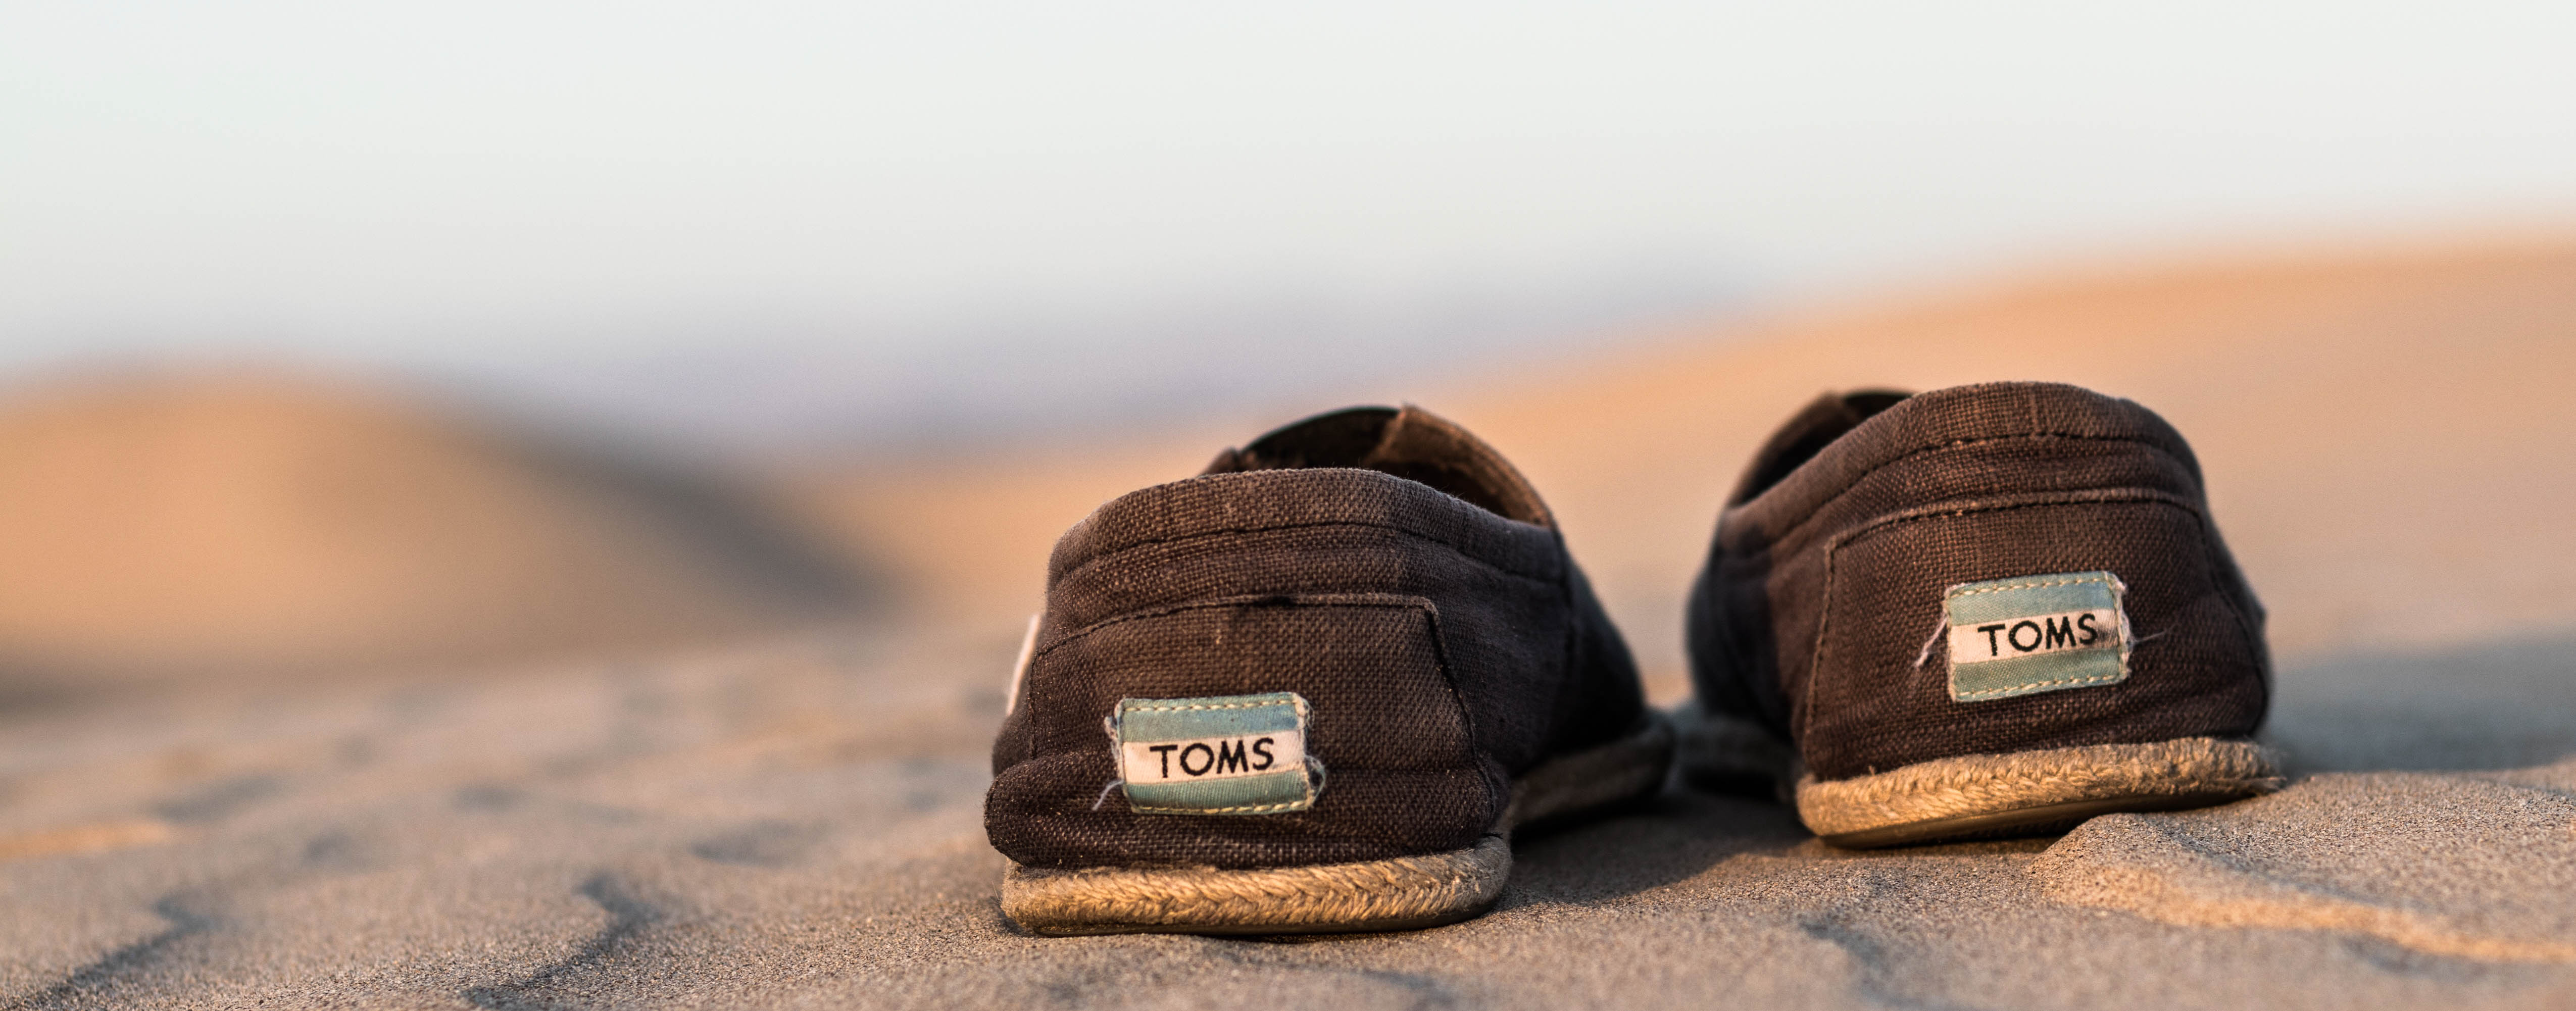
- Flip-flops or a pair of Tom’s
- Smart Phone and battery pack
- If you are a writer, a Tablet or small Chromebook
- Power inverter and all the attendant the cords you need to power your devices
- Finally, one or two items you need to keep playing your sport or pursuing your passion. But only if they are small (for me that was packing my BJJ Gi, a pair of fight shorts and eventually my SCUBA mask and dive bag).
Throw it all in packing cubes to maximize space and organize yourself.
This worked out for me, including an iPad and ultralight BJJ GI, to just under eight kilograms.
If you have to nibble around the edges, find a ten-liter sized pack that looks murse-ish (I used my neon green dive bag from Thailand on, where this became an issue) and cross load the extra weight. I never had anyone challenge me on this method, even on airlines that had seven-kilogram weight limits.
I used the Osprey Farpoint 40 for my pack and was really happy with it. It’s got big, intuitive compartments, is durable and designed to fit under any seat on any plane you might get on.
Also, invest in a really good, lightweight and easily packable rain jacket. You’re going to need it.
I went with a Kuhl Jetstream for my trip. It was the only other item, besides my pack, that I paid full price for.
Unlike Jariko, I’m a flip-flops guy, so I had my Havaianas instead of a pair of Tom’s. If you are going to be in Europe or some of the world’s more developed countries, I agree with him on making Tom’s your second pair of shoes. They pack just as well and are way more versatile.

If you are going to Asia or the Middle East, flip-flops will do just fine, as everyone in those countries is wearing some sort of sandal. Not to mention, when your feet are fully exposed to the air, it helps your body more efficiently vent heat, which is something you will absolutely appreciate if you are in India on a hundred-and-ten-degree day.
Finally, if you are going for longer than three weeks, make the investment in high-quality tech fabric clothing. My pants were Pranas, my button-down shirts were Mizzin and Main, and the best t-shirt I had from the random collection I packed was one from Patagonia.
You don’t need to break the bank and turn into an Arc’teryx geardo or some shit. You do want to invest in fabric that dries quickly, is anti-microbial whenever possible and can get roughed up yet still look good. In addition to being more cost effective over the life of the trip and far more forgiving if you can’t find a place to do your laundry a couple days longer than expected, you never know when you’re going to end up scoring a dinner date in a world-renowned restaurant with a gorgeous finance executive who is doing yoga on holiday from London.
Budgeting
An absolutely fantastic resource is the Price of Travel’s World Backpacker Index, which I used in order to build my budgets.
Make sure you look at the page for each city you want to go individually to get a better idea of true area costs. If you use the regional cheat sheets pages (check out this example for Asia) the attraction budget is wildly, comically, laughably low. It also won’t factor things like trips to and from the airport in the transportation budget. Finally, because it bases hostel bed price off the cheapest place that is still safe (I stayed in many of the ones on their list and can attest that they did their due diligence), you could be in for a bit of sticker shock if you can’t get in where they suggest or it’s peak season prices when you fire up Hostelworld.
Still, if you just want a quick snapshot of what something is going to cost halfway through a trip because you decided to flex, the cheat sheet is a solid baseline.
In addition to showing you how to see an area of interest on the cheap, their master list shows you just how far you can stretch the dollar depending on where you are thinking about going.
By comparing a hundred-and-thirty-seven cities around the world, the guide shows you where you can find value and stretch the dollar in terms of countries and cities around the world, from the cheapest on Earth to some really expensive areas.
For example, if you find a flight into Thailand for roughly $800 round trip (which we will talk about in part two), you can end up going from Bangkok, Thailand to Hanoi Vietnam and back over about a sixty-day time period for roughly $2,500 at the basic daily Index Number plus transportation costs if you travel like a local, all in.
By contrast, if you can find a $500 flight into Spain, you can expect to spend about $2,500 in Spain, according to the basic daily Index Number plus transportation costs if you travel like a local, all in, for thirty days of travel.
Both would be killer trips, it’s just up to your tastes and preferences.
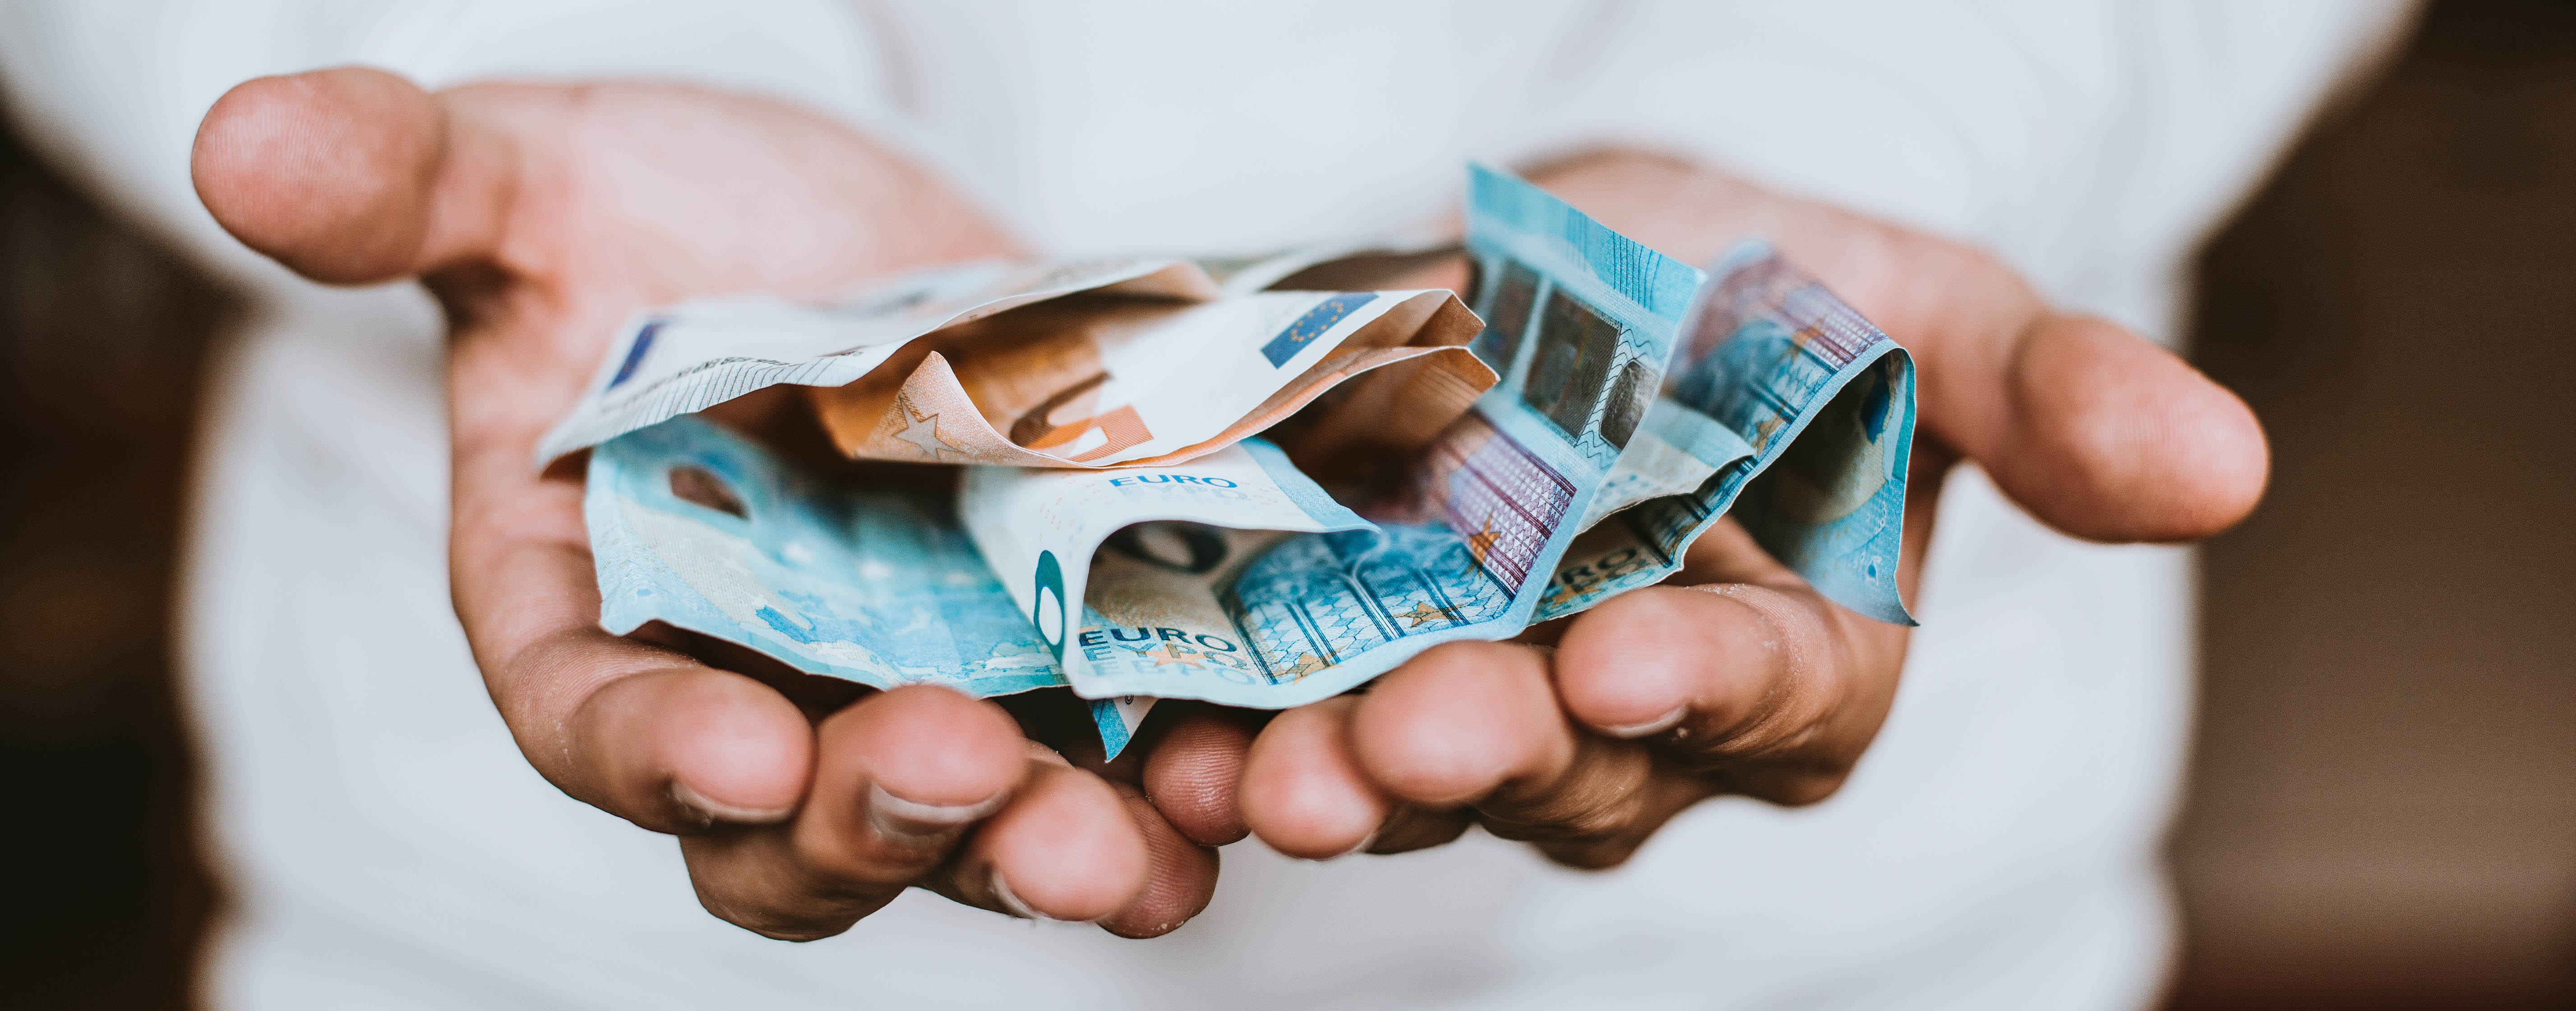
Cash is Still King Around the World
If you pull out a $100 bill here in the U.S. to pay in a normal store, they look at you like you are from Mars. Not the case in most places around the world. The developing world’s infrastructure that can handle the secure transaction needed to run a credit card is severely limited. Also, if a place can, there’s an almost universal policy in the developing world to tack on the transaction fee of 3% when you whip out your Visa.

Even in most Western European countries, where they have the same or better credit card networks as the U.S., they’ll sometimes stick you with the fee.
If you are traveling to Europe or a single country, convert to Euros or the local currency with your home bank before you leave. This will give you the most favorable exchange rate and won’t crush you on the fees.
You should still have a small reserve of dollars with you for flexibility or an emergency at the bottom of your pack. No matter what you have heard, the dollar still talks no matter where you go..
If you are country/currency hopping or you ended up needing more cash than anticipated, you are going to have to use international ATMs and currency exchanges.
Anytime you need either, fire up Google and check the exchange rate for that day so you don’t get scammed.
Exchanges inside major transportation hubs, right outside of them, or near major tourist hot spots have rates that are always going to suck. You’ll pay a harsh premium for convenience. Many will also charge an exchange commission or have absurd minimum exchange numbers to avoid the fee. You can end up losing close to 10% in currency value by being lazy.
Look at Google Maps or Maps.Me for other places a couple of blocks down the road. In the end, anything within 3% of the current posted exchange rate is a decent exchange.
Going the ATM route, again consult the daily exchange rate and pay attention to what the actual fee is. Especially in high tourism areas, there are ATMs that will try to charge you $10 or more in fees, before your bank takes a bite. Furthermore, these machines often show you a set of initial withdraw options that start at roughly $250 and go up into the thousands.
Pay attention to the rate and only withdraw or exchange what you need.
Cash/Document Management
Even if you only draw out $200 or less, in a place like Myanmar the machine is going to spit out a gangster roll.
That wad of cash works out at about $180. Many of you will roll your eyes at some of the following but I’m an old NCO who will always safety brief to the lowest level.
Don’t flash or count your cash at the ATM, it does increase your chances of getting robbed. Look left, look right, stay close to the machine so someone can’t steal your pin, put your money quickly in your pocket and go.

Everything you value goes in your front pockets. My dumbass was rushing when I landed in Bangkok, Thailand. I had to pull some money from an ATM and stuck the money in my front right pocket. With all my custom documents, passport, wallet, phone, etc my pockets were getting pretty full. Instead of taking the one minute to slow down and properly store my ATM card, I stuck in my back pocket. In the hundred meters it took me to walk to the bus, it was gone. Pickpocketed. I spent the forty-five-minute bus ride on the phone with my bank canceling my card.
Only carry what you need on your person, lock up the rest. Every hostel I stayed in had at least a small personal compartment where you could lock up your valuables. I only carried my passport on me in countries like Myanmar and Vietnam where I worried if I got stopped for some reason, there might be a problem. The rest of the time I kept my passport locked up with my back up credit cards, cash and iPad. Carry what you need for the day, reload if you are going out that night, and never have so much on you that if you make that turn down the wrong alley and it goes south, you’re fucked.
In the next post, I will talk through some steps on how to get from point A to point B as cheaply as possible, staying in hostels and some more advanced things like maximizing a travel card and points/miles.


